

1.5KW 110V VFD Clearance – 50% Off
We’re clearing out remaining inventory at half price. Limited quantity available and this deal ends when they sell out.
CNC Router and Laser Plans


Featured products
-
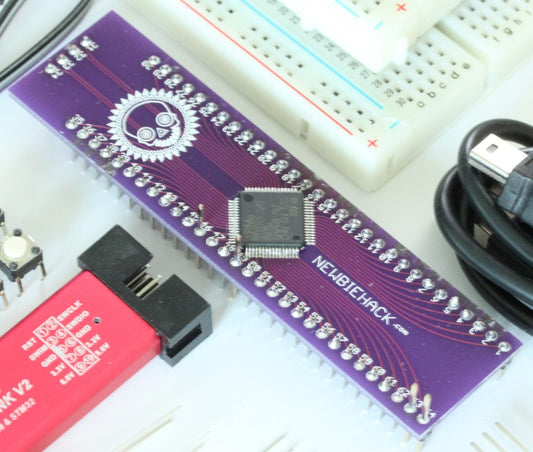
ARM Microcontroller Advanced Kit with Book
Regular price $158.00 USDRegular priceUnit price per -
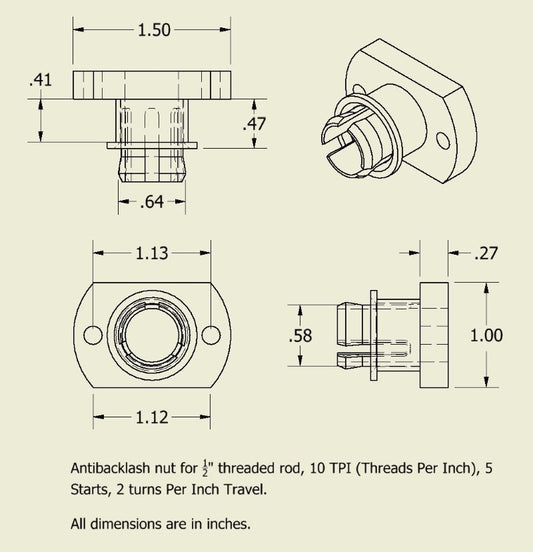
1/2" Anti-Backlash Nut
Regular price $37.39 USDRegular priceUnit price per -
Mach3 CNC Control Software
Regular price $175.00 USDRegular priceUnit price per$175.00 USDSale price $175.00 USD -
Mach4 CNC Control Software
Regular price $200.00 USDRegular priceUnit price per$200.00 USDSale price $200.00 USD -
E-Stop (Emergency Stop) Button With LED Indicator
Regular price $11.95 USDRegular priceUnit price per -
M12 4-Pin Male to Female Sensor Cable A Code 2 Meters (For Proximity, Limit and E-Stop Switches and Other Sensors)
Regular price $17.00 USDRegular priceUnit price per -
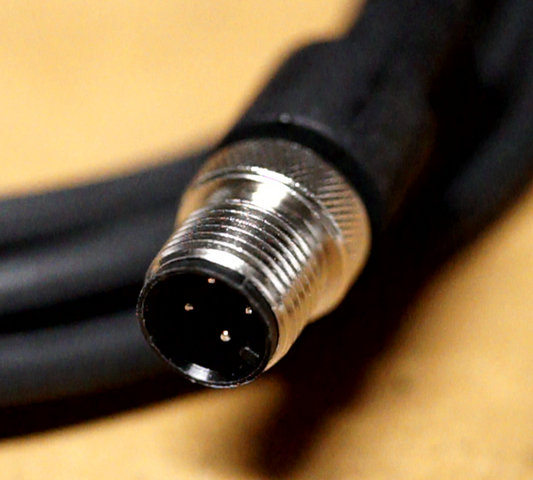
M12 4-Pin Male Sensor Connector A Code (For Proximity, Limit and E-Stop Switches and Other Sensors)
Regular price $9.00 USDRegular priceUnit price per -
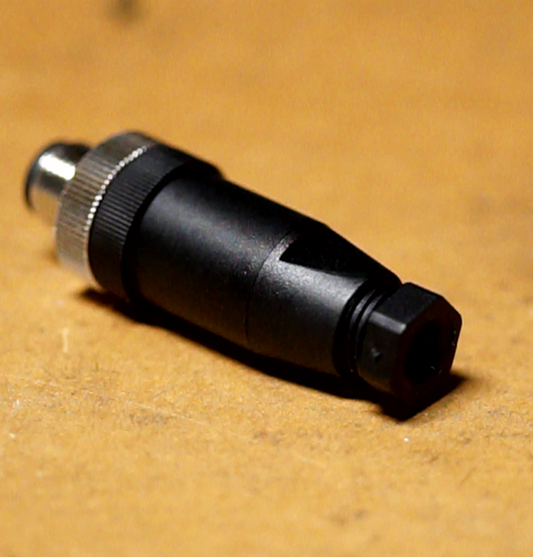
M12 4-Pin Female Sensor Connector (For Proximity, Limit, E-Stop Switches)
Regular price $9.00 USDRegular priceUnit price per -
ARM Microcontrollers: Programming and Circuit Building Volume 1 Book
Regular price $39.00 USDRegular priceUnit price per -
ARM Microcontroller Advanced Kit (STM32F0)
Regular price $119.95 USDRegular priceUnit price per -
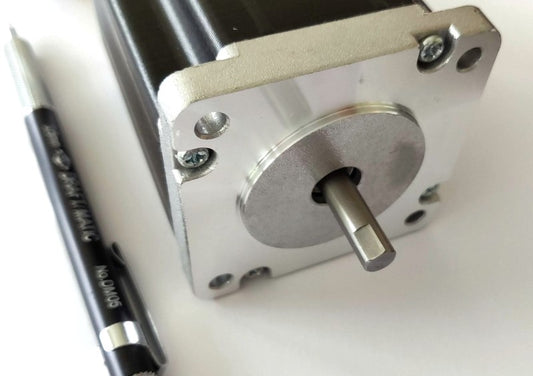
NEMA 23 Stepper Motor (425 oz-in 1/4" dual shaft) 2.8 Amps
Regular price $45.00 USDRegular priceUnit price per -
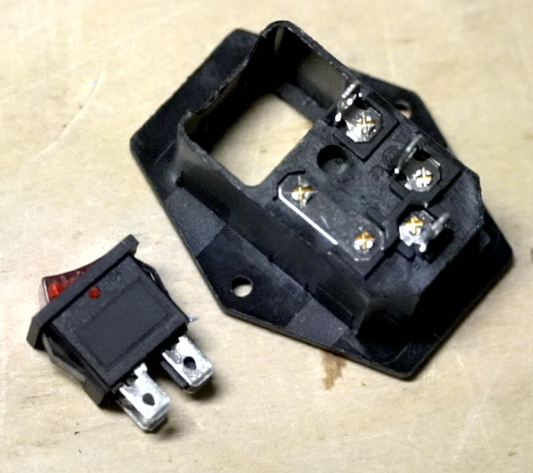
AC Power Connector C14 Male 3 Pins Screw Panel Mount 10A 250V IEC 320 With Fuse and Switch
Regular price $6.95 USDRegular priceUnit price per -
AC Power Connector C14 Male 3 Pins Screw Panel Mount 10A 250V IEC 320
Regular price $12.95 USDRegular priceUnit price per -
THC-2 Plasma Torch Height Control
Regular price $270.00 USDRegular priceUnit price per -
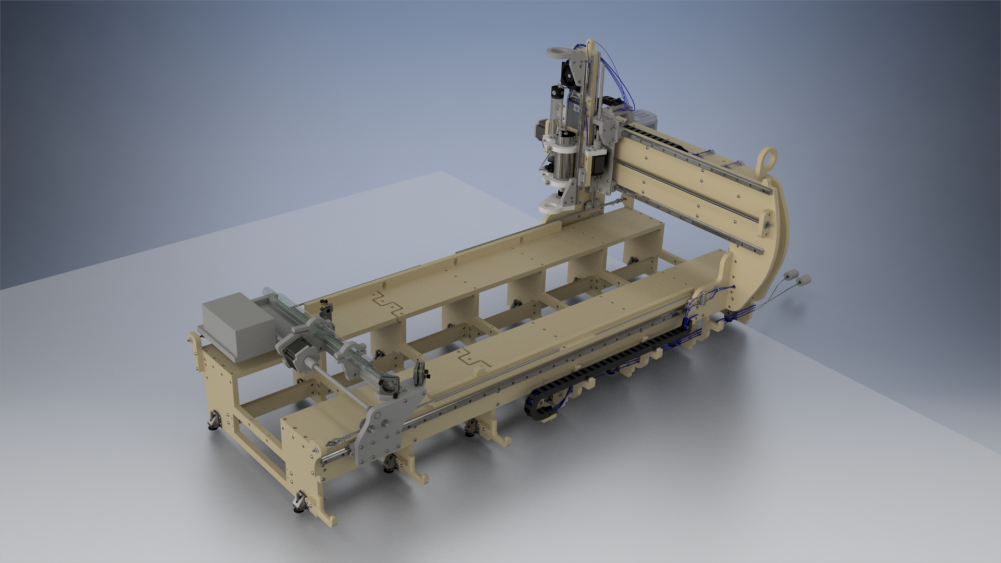
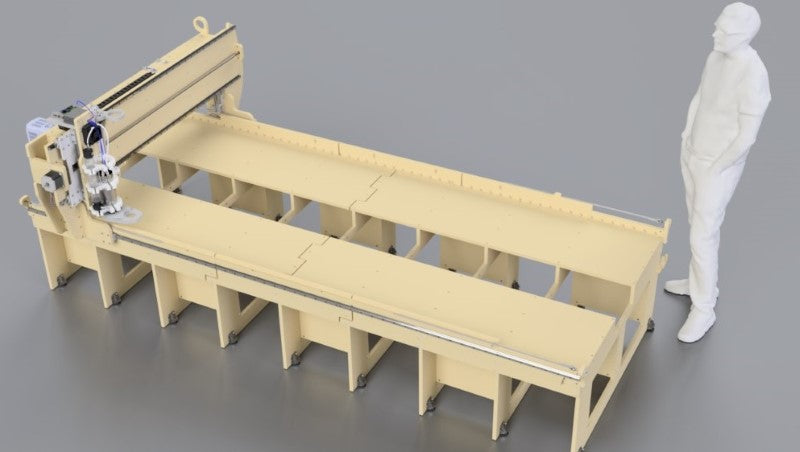
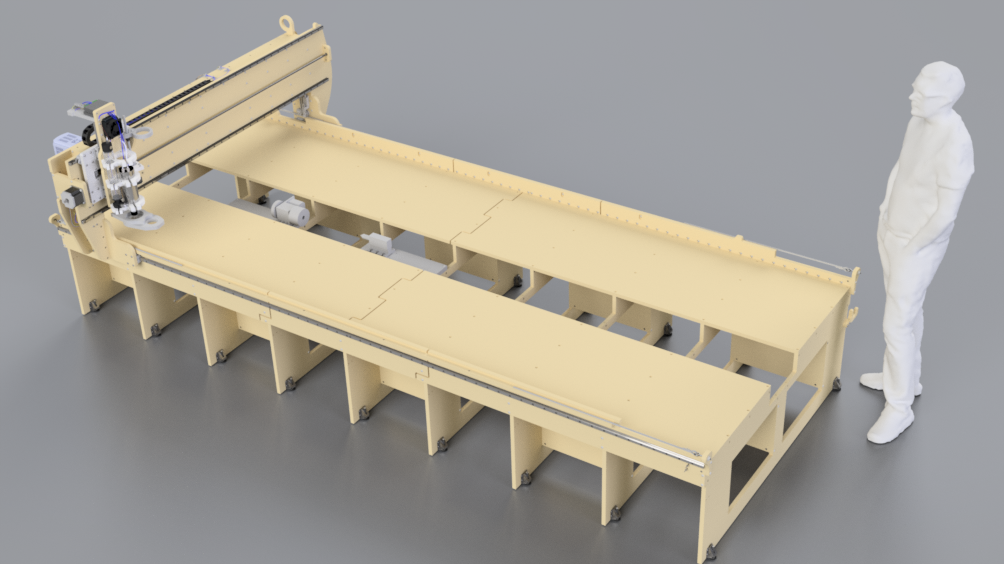
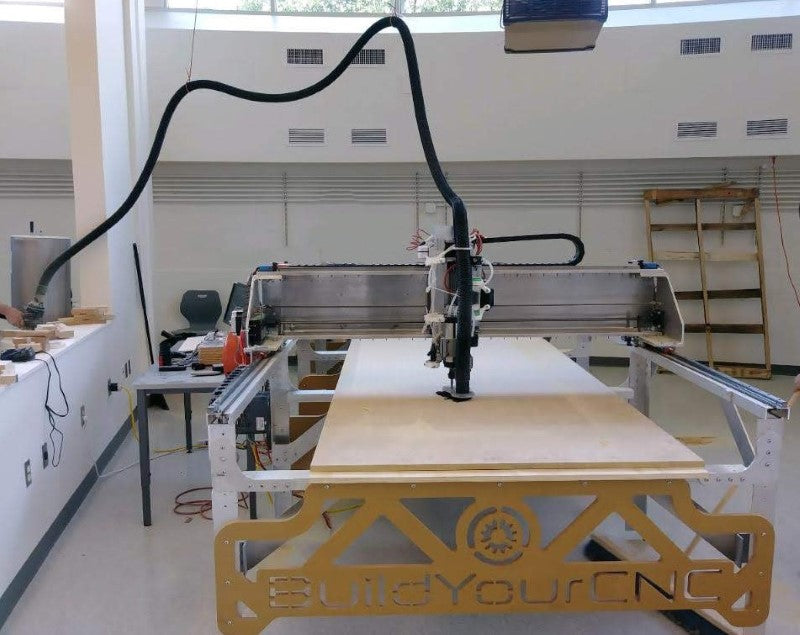
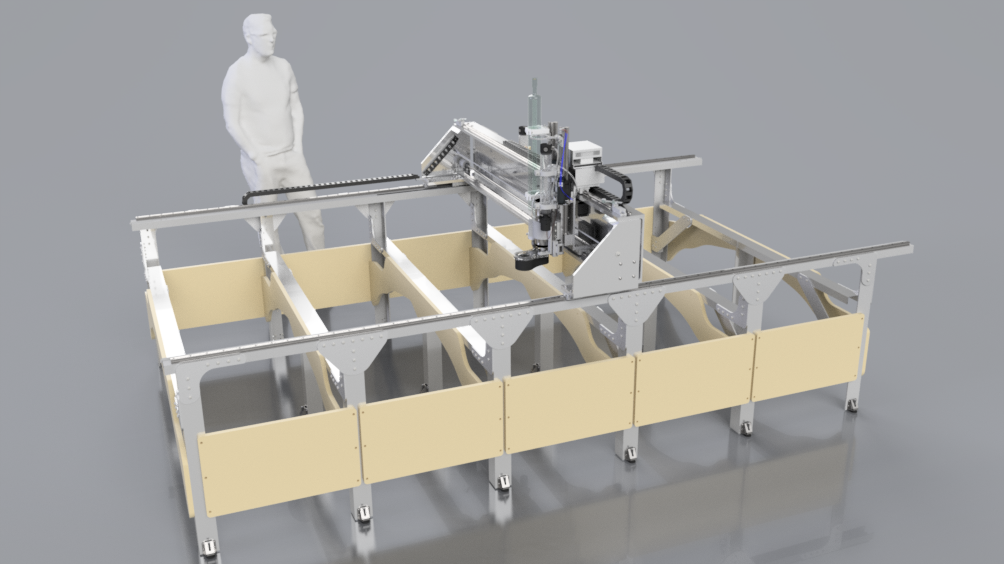
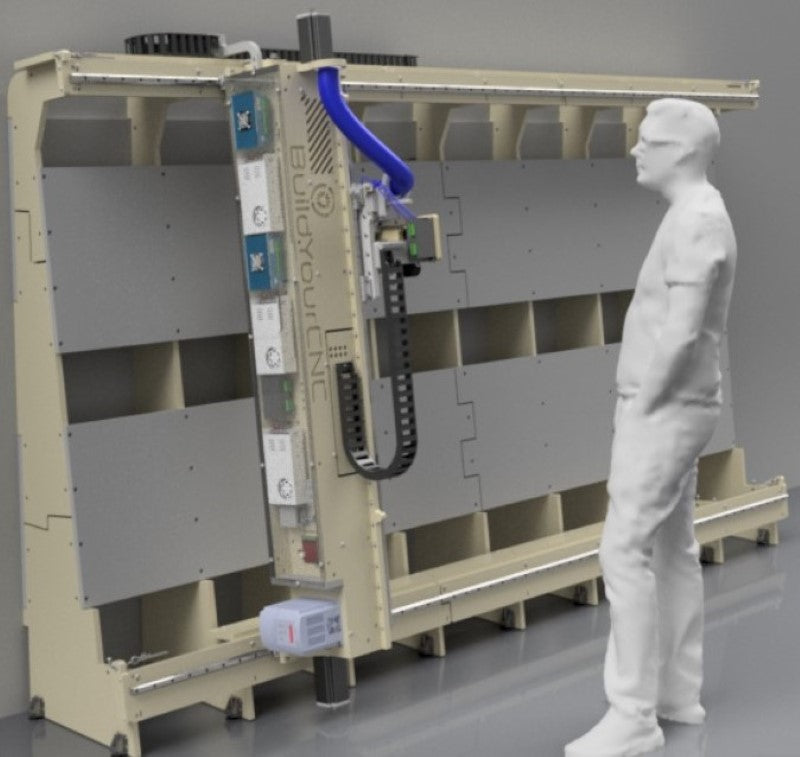
greenBull v2 Small (2'x4') CNC Router Digital Plans
Regular price From $5.00 USDRegular priceUnit price per


Struggling with CNC Tech or CNC Electronics?
Our 30-minute support tokens offer you personalized guidance, whether it's a phone call, remote access, or a video session. Get expert solutions and keep your CNC projects moving smoothly.