1
/
of
16
BuildYourCNC
Adjustable Rotary Limit Switch
Adjustable Rotary Limit Switch
Regular price
$7.99 USD
Regular price
Sale price
$7.99 USD
Unit price
/
per
Couldn't load pickup availability
Versatile Rotary Limit Switches for CNC Applications
Product Features
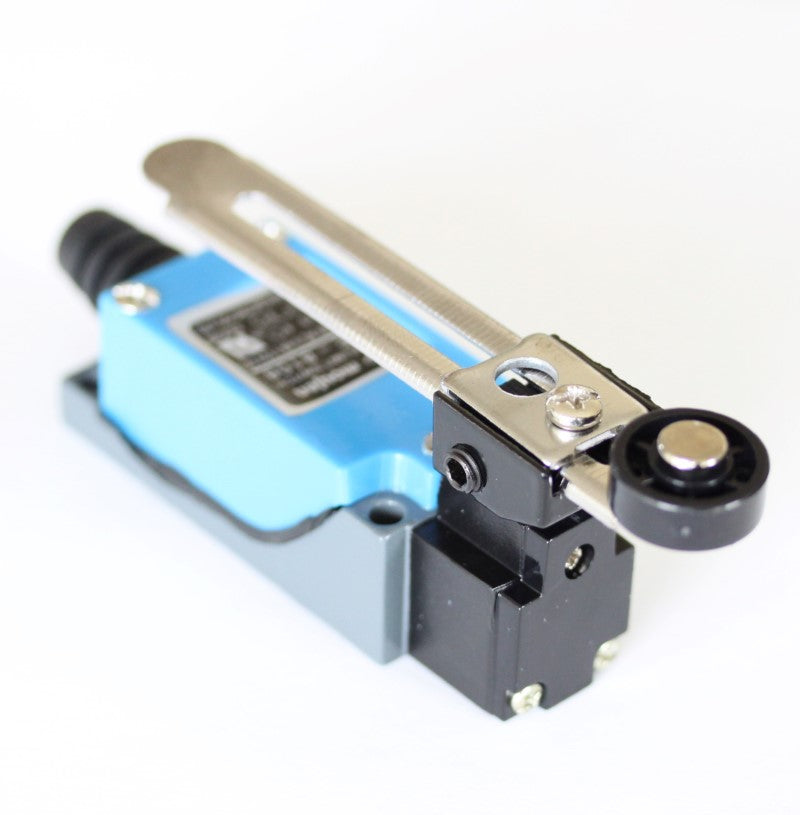
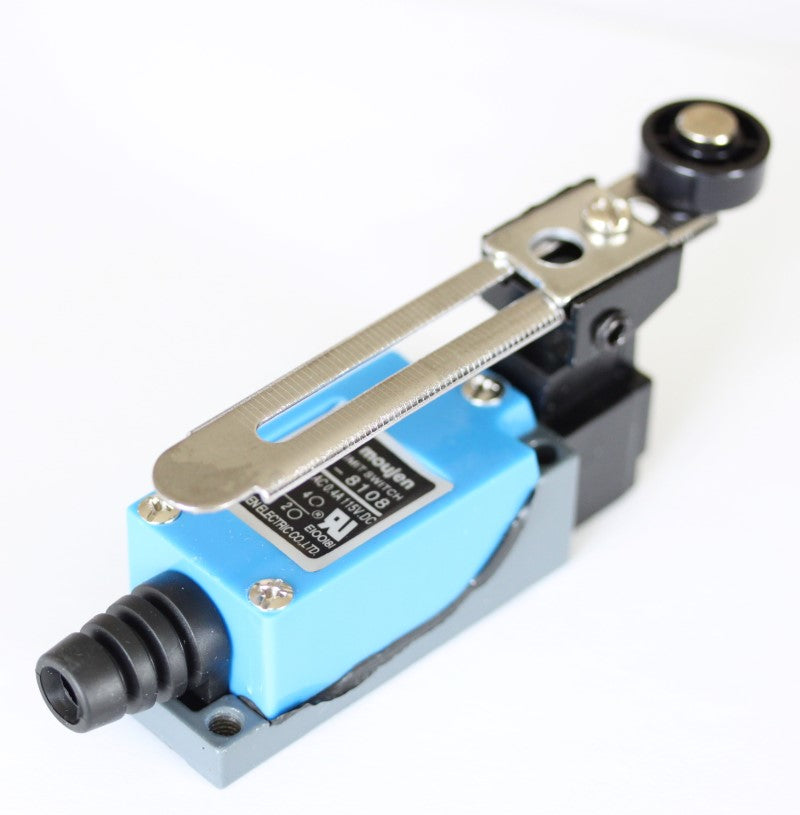
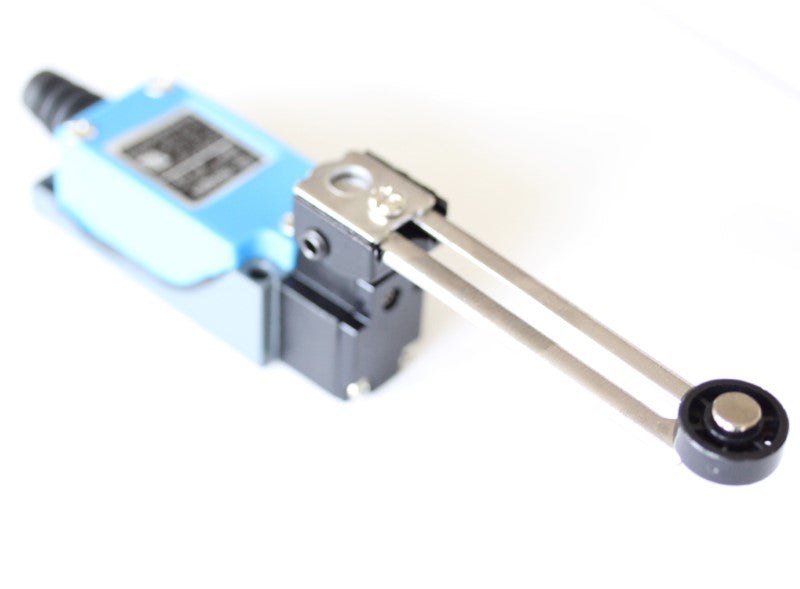
- Rotational Action Design: The lever arm can be positioned to allow switch actuation without interfering with the triggering structure
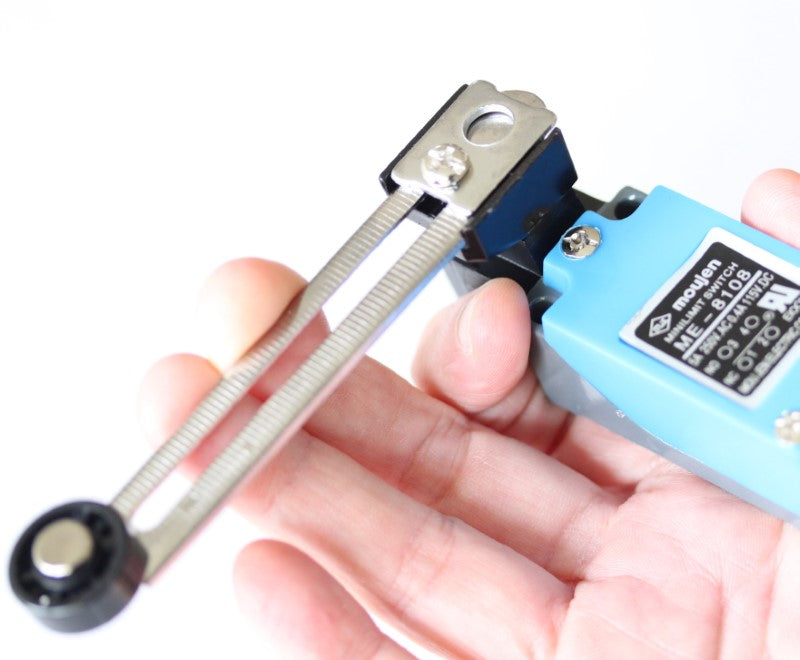
- Adjustable Lever: Rotation angle can be adjusted up to 90 degrees
- Free-Spinning Wheel: Located at the end of the lever to prevent hangups when moving in reverse after actuation
- Electrical Rating: Handles up to 5A at 250 volts (compatible with standard 5V digital signals or higher voltages)
- Easy Connection: No soldering required - uses convenient screw terminals
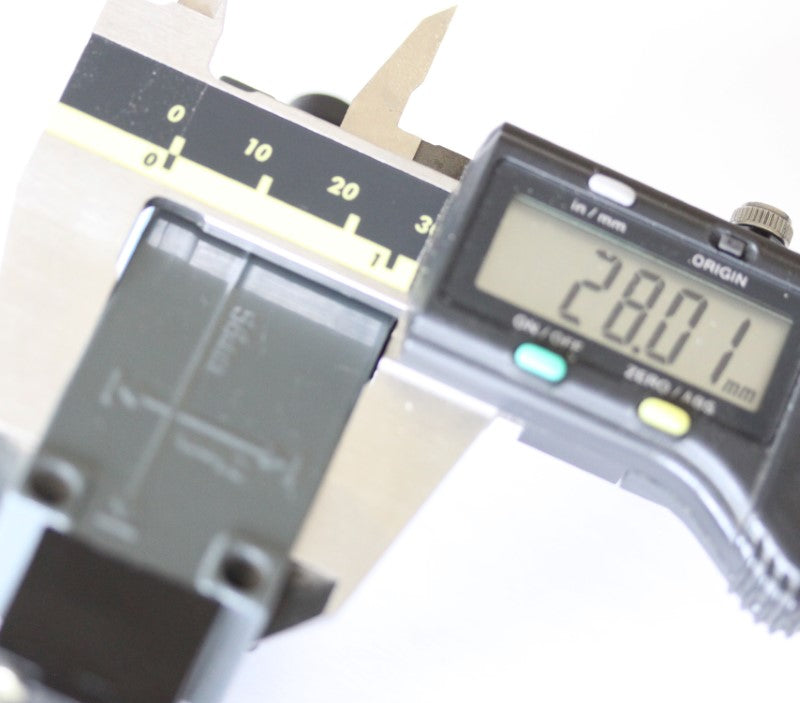
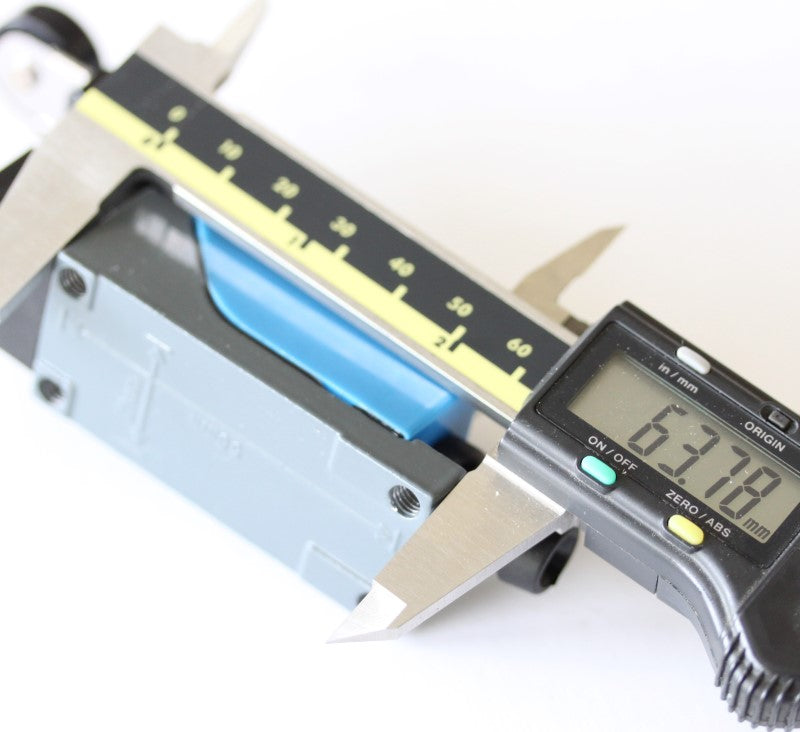
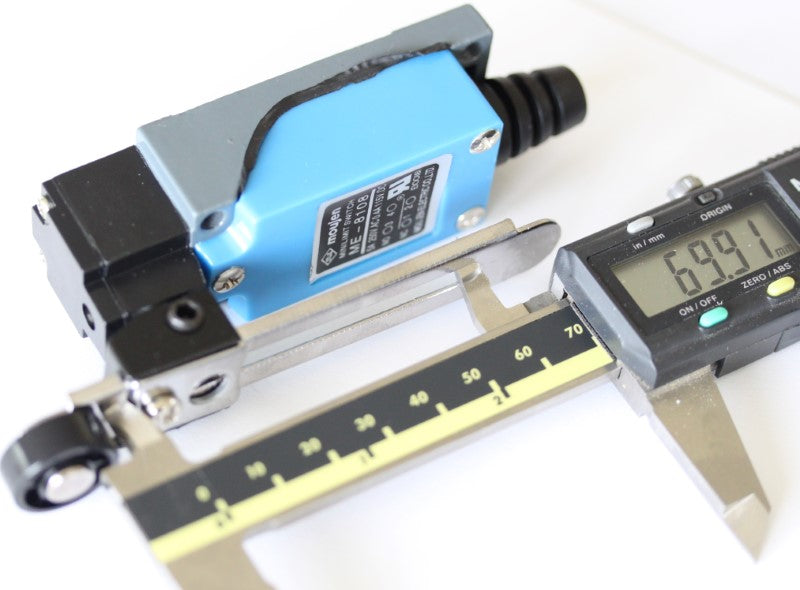
- Mounting Dimensions: Holes located at the back, measuring 21mm on center (width) and 56mm on center (length)
Terminal Configuration
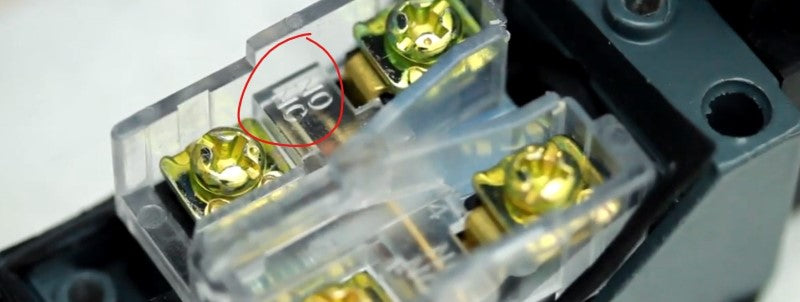
- Normally Open (NO): Connect through terminals #3 and #4 (closest to the lever arm)
- Normally Closed (NC): Connect through terminals #1 and #2 (closest to the cable strain relief)
Installation Guide for Mach3 USB Controller
Required Materials
- Shielded cable with two conductors (22 or 24 AWG recommended)
- 24VDC power supply
Wiring Instructions
-
Prepare the Limit Switch:
- Remove the terminal cover to access the connection points
- Identify the NO terminals (marked between the terminal pairs)
- Connect your cable to the NO terminals (#3 and #4)
-
Cable Considerations:
- Use shielded cable to prevent interference with CNC controller input signals
- The shield and ground wire must be connected together
- If using cable with more than 2 conductors, ground all unused wires to prevent antenna effects
-
Controller Connection:
- Connect the signal wire (red in example) from one NO terminal to IN1 on the Mach3 USB controller
- Connect the ground wire (black), any unused wires, and cable shielding to the DCM terminal
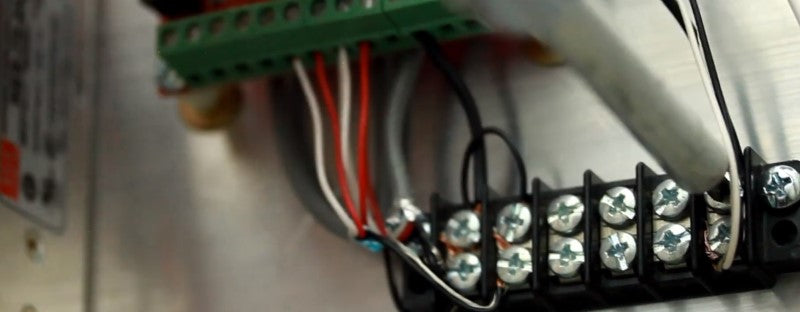
- For multiple switches, a terminal strip can be used to accommodate connections to DCM
-
Power Supply Connection:
- Use a 2-conductor cable (shielding optional) between the 24VDC power supply and controller
- Connect V+ from power supply to 24V terminal on controller
- Connect V- (COM/GND) from power supply to DCM terminal on controller
-
Testing and Adjustment:
- Test the switch function with the machine part that will engage it
- Adjust lever length using the securing screw if needed
- Adjust lever angle using the allen set screw as required
- With default configuration, the switch should engage the reset function in Mach3
Connecting Multiple Switches
- Multiple switches in NO mode must be connected in parallel
- Connect one side of each NO terminal to IN1 (or to another switch on the same input)
- Connect the other side of each NO terminal to DCM (directly or via terminal strip)
- Test each switch to confirm proper function
Share
